Wednesday 19 April 2017
1001 ways to screw up beer
This blog, 1001 ways to screw up beer, is absolutely hilarious. I found it trying to look for some information about dividing hops. It's written with a wonderful dry sense of humor so just a shame it hasn't been updated for ... 5 years.
Sunday 19 March 2017
Three day brewday
I love brewing, but it can take a long time. Fitting it around busy family life and a full time job is a huge challenge. After work and one the kids are in bed an all grain brew is a hopeless and foolhardy affair bound to finish in a rush way after midnight. Even on a weekend there's often not time.
In order to get the brew day done and balance it around everything else - I often resort to splitting the brew day over two or three days. This helps manage the time, and it seem to have little impact on the finished beer itself. The only perceptible impact I have noticed is that the beers tend to finish very dry. I put this down to leaving the wort overnight to cool - where i suppose the enzymes in the wort are continuing to eat away at the sugars and starches and convert these to fermentable sugars.
Here's what this looks like in practice:

 Day 1
Day 1
Water prep and mash - in this case it was a BIAB mash and at the end of the mash, after lautering, I ran the wort into a bucket (in fact this is the bucket i'll use again later for the fermentation later.) At the end of the mash i leave the bag on top of a colander inside the mash tun, cover this and let it drain out overnight.
Day 2

 Take a pre-boil gravity reading. Measure out hops and yeast nutrient. Start the kettle, and set alarms to warn me when the hops need to go in. Post boil empty into the fermenting bucket and check the temperature until it drops to whirlpool temp (77C in this case). Chuck in the whirlpool hops in a sanitised bag and pop a lid on. I leave this to cool overnight (between October and March this is very effective at bringing the temperature down).
Day 3
 Take another gravity reading to get the OG reading. Check the temperature is low enough to pitch the yeast (below 20C is my rule of thumb) - pitch the yeast and add an airlock. Then clear up. All done!

In order to get the brew day done and balance it around everything else - I often resort to splitting the brew day over two or three days. This helps manage the time, and it seem to have little impact on the finished beer itself. The only perceptible impact I have noticed is that the beers tend to finish very dry. I put this down to leaving the wort overnight to cool - where i suppose the enzymes in the wort are continuing to eat away at the sugars and starches and convert these to fermentable sugars.
Here's what this looks like in practice:

 Day 1
Day 1 Water prep and mash - in this case it was a BIAB mash and at the end of the mash, after lautering, I ran the wort into a bucket (in fact this is the bucket i'll use again later for the fermentation later.) At the end of the mash i leave the bag on top of a colander inside the mash tun, cover this and let it drain out overnight.
Day 2

 Take a pre-boil gravity reading. Measure out hops and yeast nutrient. Start the kettle, and set alarms to warn me when the hops need to go in. Post boil empty into the fermenting bucket and check the temperature until it drops to whirlpool temp (77C in this case). Chuck in the whirlpool hops in a sanitised bag and pop a lid on. I leave this to cool overnight (between October and March this is very effective at bringing the temperature down).
 Day 3
 Take another gravity reading to get the OG reading. Check the temperature is low enough to pitch the yeast (below 20C is my rule of thumb) - pitch the yeast and add an airlock. Then clear up. All done!

Sunday 12 March 2017
Competition success - Belgian Tripel

 |
| My beer, bit flat in this pic |
This week I had more success - my Belgian Tripel placed third in the Tripels flight (15 beers in total) at the London Amateur Brewers "Fast like a Monk" competition and scored 41&38 from the judges, really pleased with these scores!
 |
| Comp entries |
I'm really pleased with this beer for a few reasons:
- Its my first excellent beer in a new style. My other excellent beers have both beer wheat beers.
- I used hops that I grew myself (First Gold) on my fence
- I put a huge amount of effort into making this a good beer, so I was really pleased when it paid off
There were a few things I could have improved to get a better score:
- It should have been stronger - at 7% I rather undercooked it for the style, at the limits of acceptability. I should have added a bit more sugar.
- It should have been better carbonated - I always take a safety first approach to carbonation in glass.
- It should have been hoppier - but again using my own hops was a bit of a gamble, there wasn't any data on their strength to help get the beer right. In future, as i like em hoppy, I'll over do the hops with my own and cross my fingers.....
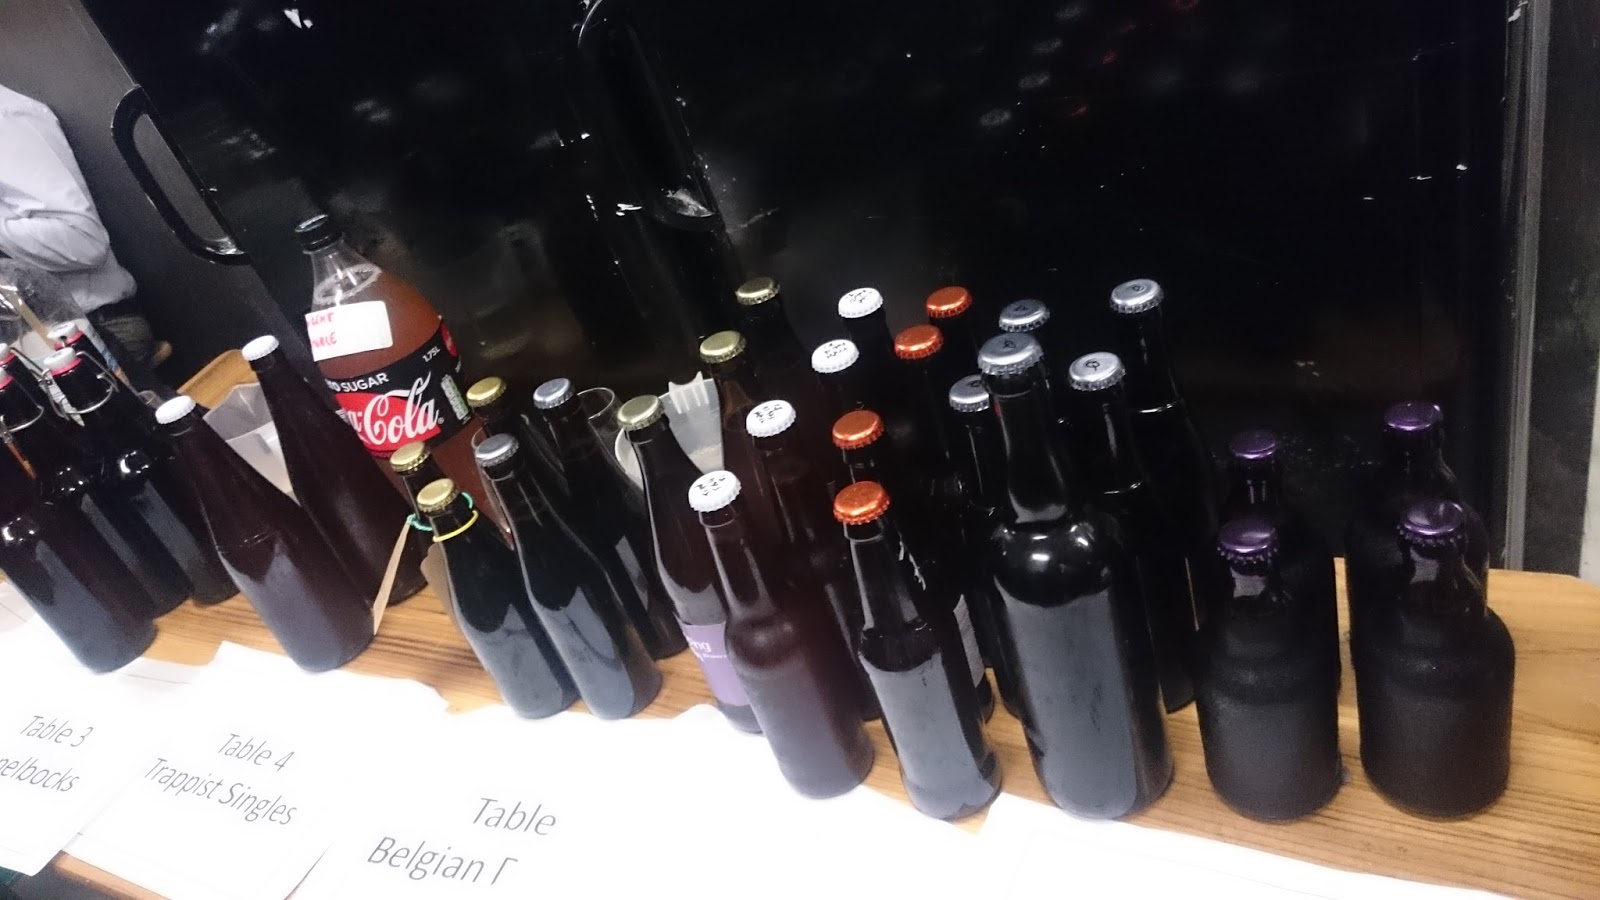 |
| My beers with the orange caps on the winners tasting table |
So a really enjoyable competition - but reckon results and awards nights on a Friday in future please (urgh!)
 |
| Getting my rosette with the other flight winners! |
Friday 27 January 2017
Burn in the bag
These days I usually use the "brew in a bag" method to make my beer. It means doing a mash with the grains held in a large mesh bag. The key thing when doing this is to make sure that the bad doesn't touch the bottom of the boiler. In my case I've got an electric boiler, and the material catches and will burn. This is exactly what happened during my latest brew. It was just a little burn, and the wort does not seem to have any burnt taste or smell carried through into it, so fingers crossed the beer will still be good.

This is just a small hole, one I can fix with a needle and thread. It should be a reminder to me that i should take a bit more time setting up the mash before getting going.
Saturday 24 December 2016
Winning Beer - Black Hefewiesse
I brewed my first winning beer. It was a Black Hefeweisse that I made for the London Amateur Brewers "Black Friday" competition. It scored 40/50 on the BJCP scoring system which classifies the beer as excellent.
A black hefeweisse, well if that sounds a bit odd, it is. Its not really a style, but the aim of the Black Friday competition is to make any type of beer you like as long as it is black. One of the best beers i tried at the 2015 competition was a black hefe so i thought I'd have a go at making my own.
My approach was to make a standard hefewiesse bier but with some roasted wheat malt (which has a very mild roasted malt flavour) to add the requisite blackness.
The beer didn't win the whole competition. But it did win it's flight. The flights are the subcatagories in the competition (eg Stout, Porter, Mild). My beer was put in the experimental beer flight, which was fair enough as the beer doesn't really fit in any of the existing styles.
When they announced the results I was completely surprised. But the judges loved the beer. They said it had a lovely big banana and clove aroma - BOOM that's the classic hefeweisse aroma! I think the key thing I did was to carry out a feurlic acid rest during the mash, which is supposed to really accentuate the clove/banana aroma. Worked a treat!
Black Hefeweisse 4.1%
11L Brew in a bag mash
Feurlic Acid rest at 45C for 20 mins
Mash at 67C for 60mins
Grain:
2.67kg Pale wheat malt
0.23kg
Hops:
4.5g Pheonix @FWH 60minutes (used this because it has a bit of a chocolate taste)
9g Pheonix @30 mins
4.5g Pheonix @FO
OG1051
FG1020
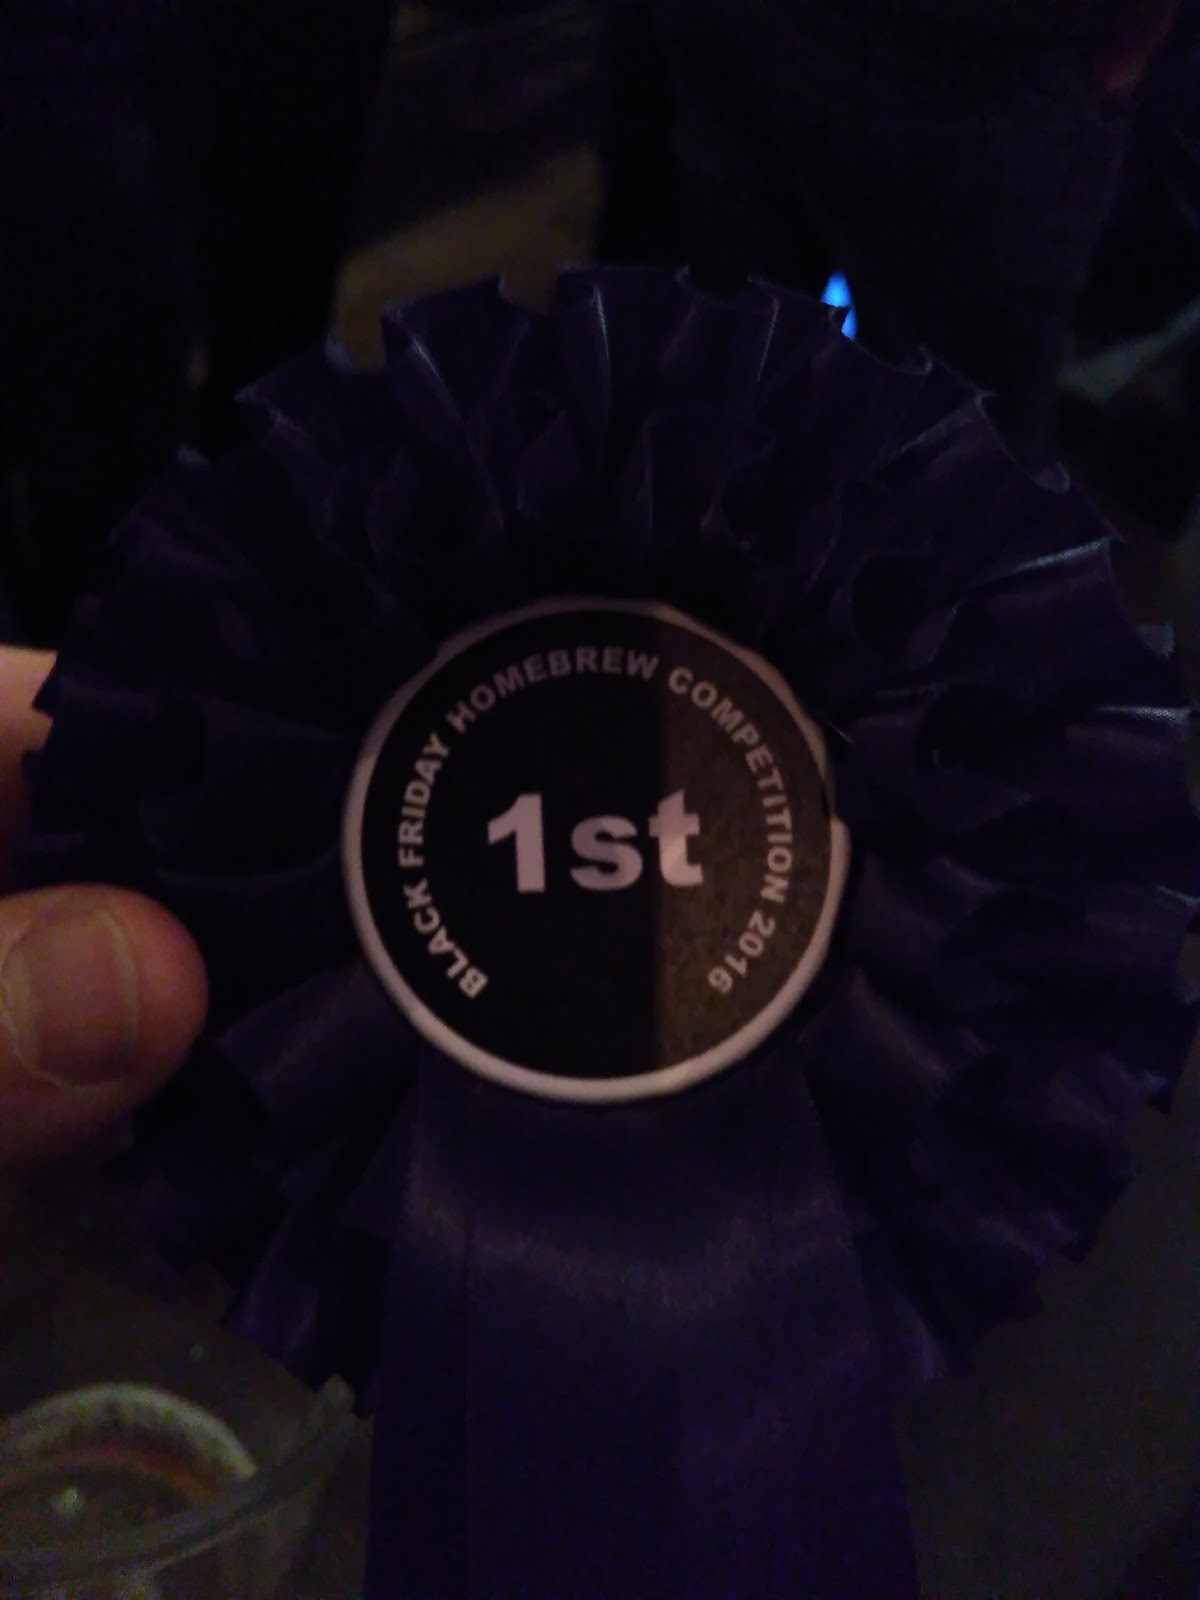 |
| The winning black rosette |
A black hefeweisse, well if that sounds a bit odd, it is. Its not really a style, but the aim of the Black Friday competition is to make any type of beer you like as long as it is black. One of the best beers i tried at the 2015 competition was a black hefe so i thought I'd have a go at making my own.
My approach was to make a standard hefewiesse bier but with some roasted wheat malt (which has a very mild roasted malt flavour) to add the requisite blackness.
The beer didn't win the whole competition. But it did win it's flight. The flights are the subcatagories in the competition (eg Stout, Porter, Mild). My beer was put in the experimental beer flight, which was fair enough as the beer doesn't really fit in any of the existing styles.
When they announced the results I was completely surprised. But the judges loved the beer. They said it had a lovely big banana and clove aroma - BOOM that's the classic hefeweisse aroma! I think the key thing I did was to carry out a feurlic acid rest during the mash, which is supposed to really accentuate the clove/banana aroma. Worked a treat!
Black Hefeweisse 4.1%
11L Brew in a bag mash
Feurlic Acid rest at 45C for 20 mins
Mash at 67C for 60mins
Grain:
2.67kg Pale wheat malt
0.23kg
Hops:
4.5g Pheonix @FWH 60minutes (used this because it has a bit of a chocolate taste)
9g Pheonix @30 mins
4.5g Pheonix @FO
OG1051
FG1020
Saturday 12 November 2016
Totally missing the target
Last night I brewed a beer and it all went wrong. I made a Belgian Blonde - target OG was 1049. Instead the OG came out at 1031 - disaster! What went wrong? I think it was the mash. I used my cool box mash tun, and put the grains into a BIAB mesh bag to help with cleanliness. However, last time i did this was with much more grain, whereas this time the sparge water bypassed a lot of the grain, or didn't extract as much as it could. And I was in a hurry..
So how can i rectify this? I've put the wort outside in the cold, and i'm going to attempt to boil off quite a bit of the wort to get it somewhere near to 1040 - 1045 and then i'll be adding some candi sugar to get it up to the right strength. Wish me luck!
UPDATE -
I did an extra boil of 2 hours, which got the wort to 1039. My savior was Wilkinson's which sells packets of dried malt. I added some DME to the wort to bring me up to 1045, which with the candi sugar later on is just enough for the style.
Saturday 22 October 2016
Homegrown (hops)

This year I've had my first decent crop of hops from my garden 300g of Cascade and First Gold. I’m really excited about turning these into a very fresh beer.
I've been growing hops in my garden for a few years now. Hops are perennial plants and take a year or so to establish which means the good crops don't come straight away. My First Gold plant is 3 years old, the Cascade is 2 years old.

Hops like the warmer end of the English climate, and lots of sun. I live in London and have a tiny garden, the hops grow on west and east facing fences. As much as possible I encourage the bines to trail up along trellising and other plants, which isn't optimal and they’s prefer full sun, but looks really good (which is half the point of growing them).
Knowing when to pick the hops is a bit tricky. When the hop flowers are ready depends on the type of plant and the location they are growing in. Commercially September is the peak hop picking time. But my hops weren’t ready that early, in fact mine were only really ready at the end of September.

How do you know when the hops are ready to pick? When they are too young they are wet feeling, perfectly green and when you press them in your fingers they stay compressed for a bit. When they are ready to pick there are some good signs:
- They feel dry and papery
- The tips of some of the leaves go brown
- When compressed the hops spring back to shape quickly
- When you rub the hops in your fingers you get a big hop aroma and the cone disintegrates quickly
- The hops come away easily from the bine

My First Gold hops were ready earlier than the Cascade by 2 weeks, which meant I left the Cascade crop on the bines for a bit longer and picked the First Gold first.
Last year I used the hops straight away. This year I didn't have time to brew straight away and use the hops to make a green hop beer. So i looked into ways of drying the hops at home. Many people opt for a net or screen set up by a sunny window, but by early October the sun isn't reliable like it is in early September so in order to keep the the hops from oxidising too much (which destroys the aromatics) I tried drying them in my oven. The temperature needs to be as low as possible to avoid oxidisation.

For me this was about 40C. I arranged half a kilo on three baking trays for 2-3 hours, stirring the hops every now and then to get an even result. After this time the hops were excellently dried. This removed 80 - 85% of the water (about right) and final weight was between 100g and 80g depending on the batch. I stuffed these into freezer bags, squeezed as much air out as possible and used a food seal clip to attempt to make airtight. Ideally i’d use a vacuum seal, but i don't have one and this would do if i use the hops quickly.
I made a beer with the Cascade hops that I’ll detail in the next post.
Subscribe to:
Posts (Atom)